In the game Sea Of Thieves friendly wildlife consists of pigs and chickens. Because of this, I thought why not make another farm animal to fit in with them, a cow.
This exercise was one of the more interesting of my latest stylised studies, as trying to capture the style of Sea Of Thieves on something I hadn't done before was a bit of a challenge.Hi! I'm an aspiring character artist doing my Master's degree at UCLAn, hoping to bring some new, interesting stylised characters to life!
Friday, April 30, 2021
More Sculptin'
Tuesday, April 27, 2021
Undead Study
Using my third anatomy study as a base, I decided to try and attempt my favourite cryptid, a zombie. It was great fun trying to make the character I had previously made slowly decay into a shambling horror, and led me to find some great new artists to follow whilst I was browsing for reference and guidance, and even coming across the artwork for a VR game I play often, which helped me along the way.
Once again another quick sculpt, especially since I had a base mesh already for use, turning my anatomy study into the undead took me roughly three and a half hours, during which I looked into the decaying of skin around eyes and mouth, and also the loss of noses.This was a really fun little project to do, and I hope to eventually do more creepy looking sculpts once my skills are more refined. This is also actually the first sculpt I have done with an open mouth and teeth, and I'm decently happy with the outcome, following the structure of the mouth from the base mesh, the teeth could be placed a little better, as the gaps between them are quite large, which isn't too much of an issue with a zombie, but if this were another anatomy study, I would most likely need to study the structure, placement, and types of teeth and where they all go.
Monday, April 26, 2021
Monkey Monday
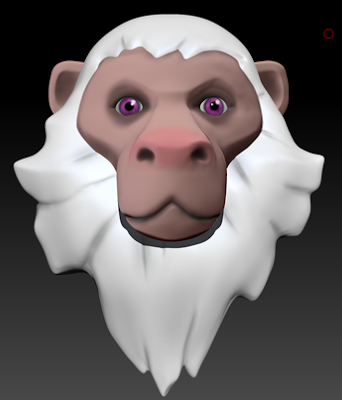
Today I decided to go back and try something in the style of Sea Of Thieves again, my in game pet monkey, Frank.
It was again a quick sculpt, taking roughly 2 hours in total, with a further few minutes to add a touch of poly paint. I feel as though this sculpt was decently successful as it seems to fit in well with the style of Sea Of Thieves. However, I do feel as though the mane of the monkey could have been better, as to me it feels too chunky. Due to this being a quick one day study, I will not be going back to change anything on this sculpt and will instead be starting a new one afterwards.This in-game image I captured was what I used for reference, I feel as though if I spent longer on it I could have got a lot closer to the reference, however I used this sculpt to practice how fast I could create something stylised.
Sunday, April 25, 2021
Sunday Sculptin'
Recently I've been playing The Binding Of Isaac a lot, and thought it'd be fun to try and sculpt one of the bosses from it, Monstro.
I tried to be as quick, yet accurate as possible with this sculpt which only took me two hours in total, from sculpt to finished polypaint. This was fun little challenge as the only reference I used from the game was a flat 2D image from the boss' sprite sheet. It was a really fun exercise as it felt easy to bring the 2D character into 3D. I hope to make a few more characters and bosses from the game as the style is nice and simplistic, which is fun to practice with.I used a mixture of two reference images for the short sculpt, one being a front on fan art version and one being a slightly side on game sprite.
I tried to capture the angry eyes from this sprite plus the exaggerated cartoonish forehead vein.
Thursday, April 22, 2021
Third Anatomy Study
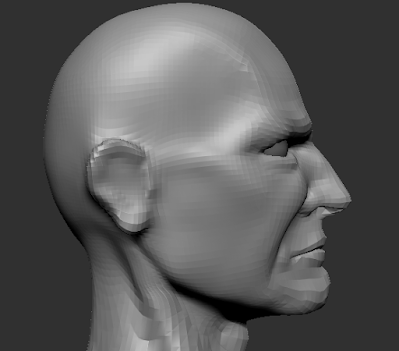
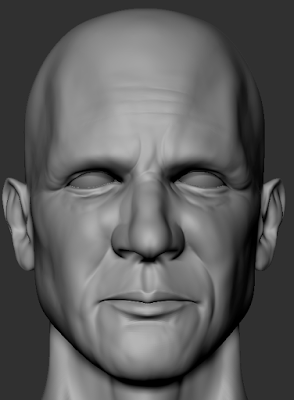
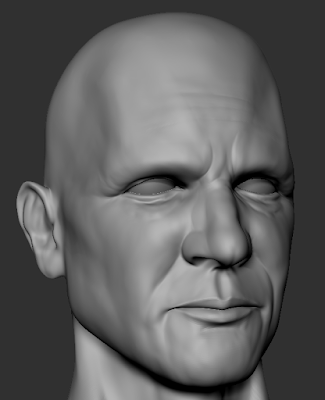
For this anatomy study, initially I couldn't get anything close to what I wanted to achieve, and ended up stuck on the first subdivision with something I felt was going to be difficult to save.
The top of the skull was solid enough to work, along with the jaw line. Features around there however were way too sunken in (the temple and the cheeks), and the brow bone was very odd looking.The side profile was not far off being good, but still needed a lot of work to bring some anatomically correct scaling and features.
The Return
I'm Back! I'm certain that all of you have missed my updates with progress and such, all zero of you must be gripping your arm chai...

-
After retopologising the head, I found that the rest of character was really easy to understand the flow of the polys that I needed. Also ...
-
Recently I've been playing The Binding Of Isaac a lot, and thought it'd be fun to try and sculpt one of the bosses from it, Monstr...


