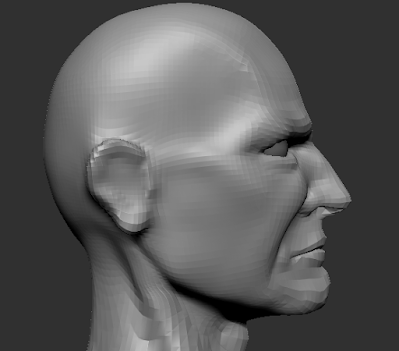
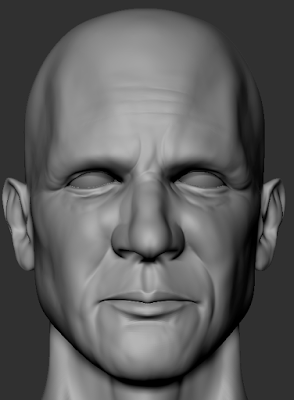
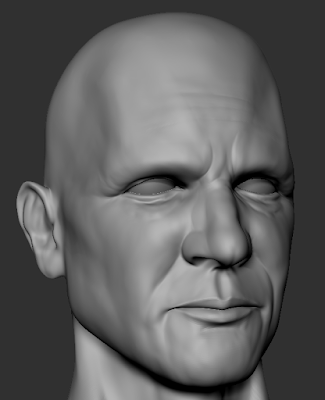
For this anatomy study, initially I couldn't get anything close to what I wanted to achieve, and ended up stuck on the first subdivision with something I felt was going to be difficult to save.
The top of the skull was solid enough to work, along with the jaw line. Features around there however were way too sunken in (the temple and the cheeks), and the brow bone was very odd looking.The side profile was not far off being good, but still needed a lot of work to bring some anatomically correct scaling and features.
Here, in the next subdivision up the features are getting closer to a real proportions yet are still quite sharp. Bringing the nose closer inwards in the middle allowed me to portray the idea of the cartilage underneath giving it a more realistic appearance. I also fleshed the temples out and brought the cheek bones in a small amount, gradually making the character appear more realistic.
John Marston from the Red Dead Redemption series, used as rough initial reference for the character's head.
I then added the next subdivison level so that I could focus on the more intricate details of a face, such as the eyes and the ears which need more polys to work with in order to capture the essence of what they are supposed to look like.
The next step was to stray away from the character and turn it into it's own face, by deviating from the reference and adding changes to the structure of the nose, brow, cheekbones and jawline. this was the outcome I had reached where I drew a blank on what the next necessary step to take was and so contacted James, the tutor that has been teaching me anatomy. He was pleased with the outcome and my progress, with little criticism for the sculpt, and told me that the next step to take was to break symmetry and add various fleshy details around the face to break up what he called 'the obvious outline' of the human form. Meaning to add volumes in areas such as the gaunt cheeks to break up the symmetry in a way that gives the character an older appearance (as a middle ages to elder character is a better study to look at in terms of how the muscles and fat under the skin form).
For this I decided I would be doing multiple studies on the affects of what these added volumes can produce, and wanted to produce both a stylised realism study (for which James suggested to look into the Dishonored series and how they portray their characters), and a realistic study.
I tried to exaggerate the features I had created anatomically accurate with these added volumes, and adding in creases and folds where I had scrunched up facial features in order to maintain the realism side of the stylised realism approach. While looking into Dishonored style sculpts, I noticed that very often the characters had large scars around their face that were often made by the folds of skin being added, this is something I tried to replicate on my own study on the chin and somewhat on the forehead. I also brought the cheekbones of this sculpt out and down slightly, and brought the jawline in and down to give the character an older appearance through sagging skin. On the more obvious folds such as the top of the nose and along the brow bone, I dug into the shapes slightly with the Damstandard brush to achieve a deeper effect.
I also chose to position the character's eyes a little to the right, as when I added the volumes to the face, the expression presented itself as an angry glare in that direction, and so I did my best to follow how the flow went along.
The realism approach I felt did not go as well as the stylised, as I feel as though I made the face a little too puffy with too many volumes added around the cheek and nose area, however I did like how the chin on this attempt turned out. I feel as though I will need another go or two at the realism side if I want to nail it properly, as there are things I could definitely improve on.


No comments:
Post a Comment